After a much-needed and refreshing 3 month term-break from Uni, I'm back to a full study schedule of readings, research, books, assignments, computer screens, files,...and, well, you get the idea! It is exciting, but challenging to be sure.
During my break I enjoyed doing many things I had wanted to do for a very long time. For example, one of those really special things I managed to do was to hone my singing skills and techniques (but more on that in some later post). One other thing I really enjoyed doing, was decorate my little sister's dollhouse! Since I was a little girl, I always dreamed of doing this. I love decorating and interior design. This was a great opportunity to try it on a nice, very small scale. I was also particularly inspired by Emma J.'s work of customising and decorating playmobil houses and Cherrybrook Village: A Sylvanian Families Fan Site.
I thought I'd like to show you something of my humble attempts to decorate my sister's dollhouse! Perhaps, it can inspire you if you've got a similar hobby.
Here is the dollhouse...A Sylvanian House on a Hill... It is quite suitable for playmobil figures, too.
.jpg) |
| The Dollhouse! |
Here is how it all turned out...
 |
| The back-side of the house... |
 |
| The side-part of the house... |
The hardest to work on were both the attic and the winding staircase!
 |
| The attic children's bedroom... |
 |
| A closer look at the attic... |
 |
| Carpeting the winding staircase was a real challenge... |
To give the impression of shinny tiles, I covered the wallpaper and flooring of both the kitchen and bathroom with cello-tape.
 |
| The Kitchen! |
 |
| The Bathroom! |
*******************
Here is how I went about decorating this nice little dollhouse!

- Rulers
- Pencils and eraser
- Scissors
- Cello-tape (normal sticky tape)
- A Cutter
- A cutting board (or quilting board)
- Paper (for creating templates)
- Double-sided, Acid-Free sticky tape (available from Craft/Art stores or hardware store)
- Wet Sponge and towel
- A colour printer
Step 2:
Using a damp sponge, I made sure the surface of the walls was clean. Then, I made sure it was dry.
Step 3:
Then, using some paper, I made a template of all the walls of the room. I needed to make it as accurate as possible. This way I wouldn't run into problems and waste the real wallpaper.
Step 4:
Making a template of the windows was always trickiest thing. (See image 4 to see how I did it!)

For wallpaper, I browsed the internet for dollhouse decorating and miniature websites and found many printable wallpaper to use - all for free!
Here are some links:
Jenny's Free Printable Dollhouse Wallpaper (my favourite)
My Obsession (Gives more links)
Choosing the right wallpaper was also a challenging step. I had to always take into consideration the dollhouse furniture, the style, the colours, and the historical era I wanted the house to be customised into.
Whenever I found a suitable wallpaper, I downloaded it (or 'Saved as') to my computer. Using a photo-editing programme (such as Photoshop or a free online one - Picmonkey), I enhanced, edited and 'mix-'n'-matched' various wallpapers and borders to create my own new styles.
Finally, with a bit of trial and error, I managed to find the print settings and scale required for printing the wallpaper.
The next step after finding and printing the wallpaper, was cutting it out (using the templates made in steps 3 and 4).
Then, I placed double-sided sticky tape on the back of the cut-out wallpaper.

The next step was to remove the covering from the sticky-tape on the back of the wallpaper one section at a time and stick it to the wall, carefully, one bit a time. This is very important!
I did this with all the walls...and here is the final result! What do you think?
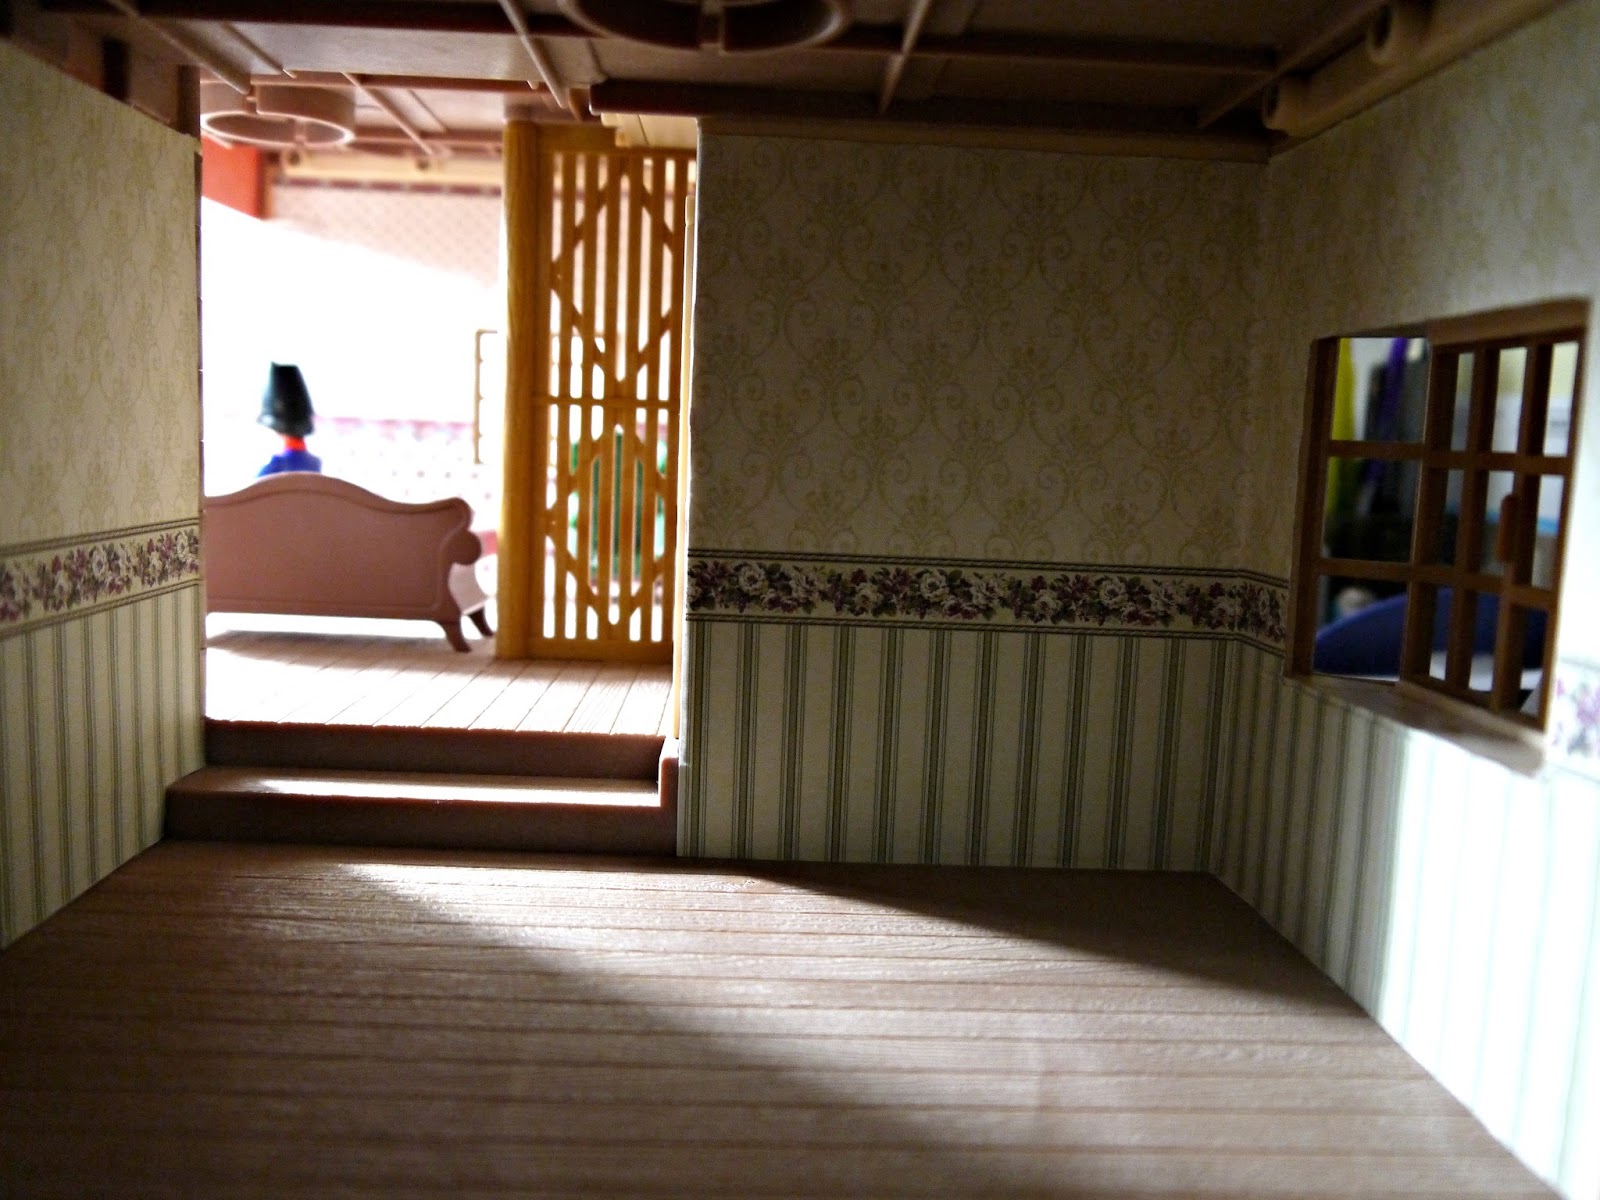
Using the same steps, I finished the walls of all the other rooms and used the same steps for putting carpeting on the floors...using felt and the double-sided sticky tape.
The last step remaining is to put suitable curtains and put back all the furniture. So, keep a look out for another post from me when I finally get to finish it. Gracie, my sister, is just so excited with this project...and I must admit...me, too!